Written by Guest Contributor on The Prepper Journal.
Editors Note: A guest contribution from Andrew of theshootersoptics.com to The Prepper Journal.
Nowadays, it is completely reasonable and rational to enhance our marksmanship skills by installing any type of optics. Regardless of whether we punch the paper or expect a quick and ethical kill in a wilderness, shooting accuracy is the ultimate requirement, and we will enable it by adequately installed and sighted rifle scope. Mounting and learning how to sight in 3-9x classics or long range scopes demands some technical understanding, but we will explain to you how to sight in a rifle scope in 8 easy steps.
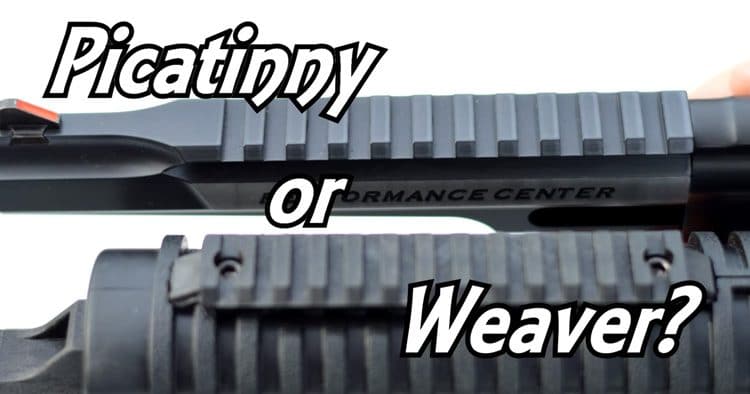
As a standard, today`s shoulder guns comes with already pre-drilled and tapped holes for scope bases or some railed system like the Picatinny or Weaver rail systems.
- Before starting, you need to gather few tools such screwdrivers and Allen keys for installing and adjusting your scope. In addition, it is mandatory to obtain a rifle rest securing it in a bipod, on sandbags or some kind of shooting platform for added stability and to reduce human error. In addition, it is vital that no part of the gun is resting on a hard surface.
- After choosing a riflescope that will suit our needs and type of shooting, we have to select appropriate scope rings to fit scope main-body, objective bell and type of scope base. Needless to say that rings should be tightly mounted to the base to avoid any wiggle whatsoever to the scope, and if necessary, use Loctite on the screws. Adequate mounting system for a scope should be designed to take as much recoil as your rifle will produce. Therefore, you should not skimp on rings and other accessories, particularly when you scope a gun with more powerful caliber.
- In a next step, you make sure the crosshairs are entirely level and perfectly aligned with the directions of the elevation and windage adjustments. With aligning, the reticle, we would avoid an anomaly referred to as “Reticle Cant” especially pronounced on long rage scopes at distances greater than 250 yards.
- The end goal of boresighting step is to ensure the riflescope reticle is centered where the rifle is pointing and in this operation, it is not vitally important to be extremely precise. To make this rough alignment, you should secure the weapon in a stable position and put up a target at short-range either 25 or 50 yards because the short distances will save time, ammunition, and frustration. The task is pretty simple with bolt-action rifles and single-shot guns, where you may only remove the bolt, or open the action and look down the bore, line up your barrel on the target, and without moving the rifle, and adjust your rifle scope so that the reticle is aligned on the same object.
Using the turrets on the top and the side of the scope, move the reticle until you see the same “picture” as through your barrel. Your rifle is now bore-sighted to 25 yards (22.9 m).
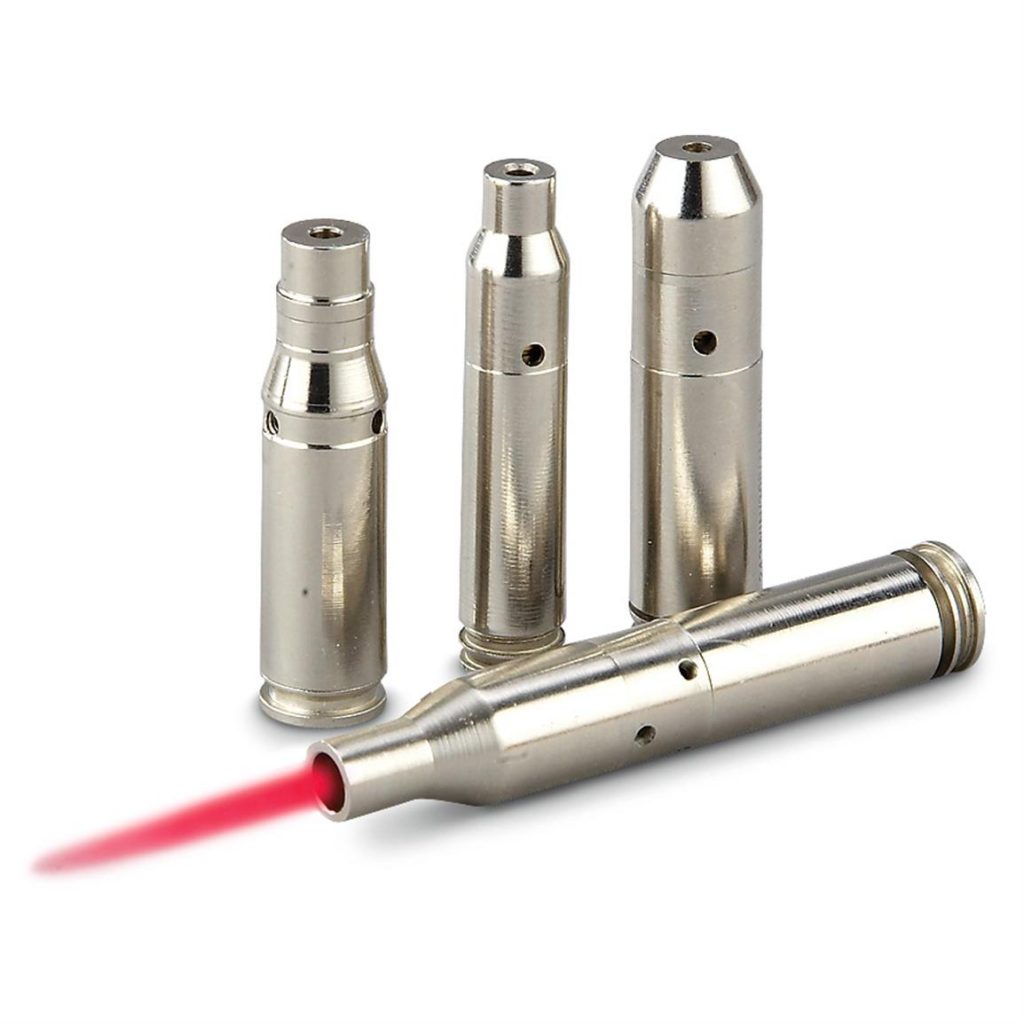
Evidently, auto-loader, pumps and lever-action rifles cannot be sighted this way, so you will need a device called laser boresighter. Naturally, a laser boresighter is a helpful tool for bolt-actions and single-shots too, and it will get you on paper quicker and little easier than merely looking down the bore of the rifle.
- Before we move into the hot phase of the sighting, it is important to set the proper spacing between the end of the scope and our eye. Adjusting perfect eye relief is a key component to sighting your riflescope, as it will allow enough distance to avoid contact of the scope`s ocular with your eye due to the rifle recoil.
- After you get the rifle on paper, you should fire three shots round at the center of the 25-yard target, check the target, adjust the scope and repeat shooting until your shots are hitting in the center. At this point, we should explain the process of adjustments. Since the majority or riflescopes have 1/4 MOA (minute of angle) increments, that feature means that one click will shift the bullet impact 1/4″ at 100 yards. Because the click value moves up or down by a 1/4 inch proportionally for each 100-yard decrease or increase in distance, you will need to make 4x times number of clicks (16 clicks=1″) to shift down the bullet impact at 25-yards target. Before moving to 100 yards (91.4 m) distance and the zeroing process, you should decide which load you plan to use and exactly where you want your 100-yard point of impact.
- After successful 25-yards adjustments, you are ready to move the target out to 100 yards and make fine-tuning but prior to that, make sure your barrel has cooled to the ambient temperature. The 100 yards is chosen as a golden middle since the less distance is not precise enough, while at over 100 yards is more pronounced human error and effects such as wind.
From the comfortable and relaxed position, you fire slowly and carefully 3-shot group at 100 yards. Check the shot grouping and measure the distance from the center of your group to the point of aim on the target. The procedure is the same after you take note of where these groups land on the target and make an adjustment, shoot another group and repeat this process until your group hits where you are aiming.
The standard zeroing is at 100 yards, but depending on your needs, you may want to sight in slightly high at 100 yards (2 to 2.5 inches high) and shoot dead center on at 200 yards. It should be kept in mind that most of the factory ammunition boxes have information about particular caliber and load.
- Following the final adjustments, you should make one last group to confirm it, lock the turrets or screw on the protective caps and waiting ready for the hunting season. If you used a bipod in the field, you should fire a couple of shots of your bipod, since some guns will have a different point of impact with mounted bipod than from specially built rifle rest or over sandbags.
- After all, some shooters recommend during sighting in the process to clean the rifle after no more than 20 rounds and repeat the process for optimum accuracy.
Conclusion
We hope to provide some assistance in this matter by offering a straightforward, systematic guide on how to sight in a riflescope. It does not matter whether you are going hunting or range shooting, mounting and sighting optics is an essential skill for you, because you will gain the confidence to continue to improve your shooting skills.
That is not a test of your shooting ability Since the whole process is carried out from a stable platform, sighting in has nothing to do with shooters accuracy, but sighting in is just as shooting groups, and it is all about the rifle.
Follow The Prepper Journal on Facebook!
The post Shooting Accuracy: Its Importance Can’t be Overstated appeared first on The Prepper Journal.
from The Prepper Journal
Don't forget to visit the store and pick up some gear at The COR Outfitters. How prepared are you for emergencies?
#SurvivalFirestarter #SurvivalBugOutBackpack #PrepperSurvivalPack #SHTFGear #SHTFBag


No comments:
Post a Comment