Written by Guest Contributor on The Prepper Journal.
Though another piece of expensive, relatively speaking, gear to drag along, a spotting scope has no match when it comes to observing the world that surrounds you. Most often seen at rifle ranges, most ranges rent them to shooters, as a tool for “sighting in” either a new rifle or a newly scoped rifle.
To understand their advantage, and to justify the expense and the extra weight to carry, you need to know what they bring to the table that a rifle scope does not. The simple answer is a sighting range from a few yards to “way out there”. The counterpoint is “so does an excellent scope” – one perhaps costing more than the rifle it is mounted on and, just maybe, the truck you used to drive it to wherever you are. The counterpoint is, it is not attached to a single weapon and can be used to improve your skills across all your weapons, well, other than a Thompson 45 cal sub-machine gun, which hits every possible thing but what you are aiming at, but I digress.
On a any scope you need to understand the ranges, and on a spotting scope the first set of numbers refers to its magnification (or zoom), so, for example. a 20-60x means 20x to 60x variable zoom. The second number refers to the diameter of its objective lens. A spotting scope will usually have a 50mm to 80mm lens.
In general, it is believed that the least magnification that gives you a clear target image is the best magnification, as it introduces the least amount of visual clutter. Then it starts to get complicated. A 4x rifle scope is suitable for most big-game hunting, think 300 yards out, while a 6x works fine for 400 yards out so it is really for smaller game closer in that you want more magnification.

Simply put, nothing beats the view from a spotting scope when you are out in the back country where game can be at any range and of varying sizes, especially after you have sighted in that $1,500 Trijicon® ACOG® Ballistic Reticle Scope at 500 yards for that one bull ELK that will never, ever cross your path.
Once you use a sighting scope a few times and you will never imagine going out hunting without one. Whether its deer, turkey, elk, pronghorn, or smaller, closer game or even a black bear, there is little doubt that nothing beats a spotting scope.
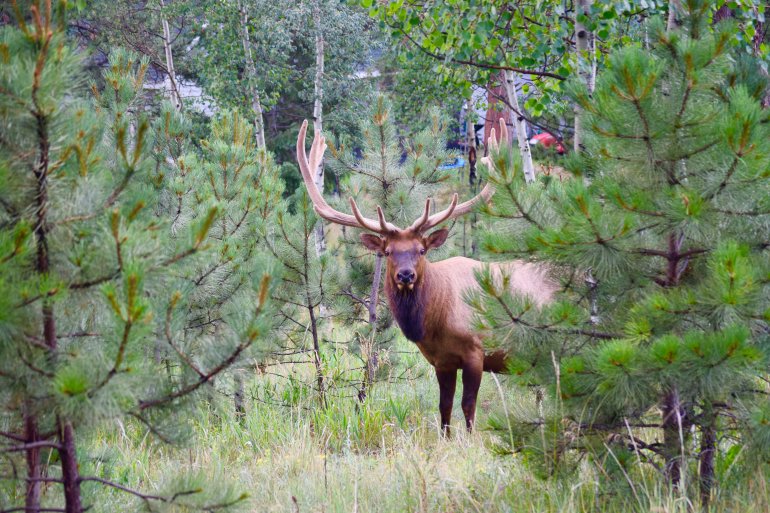
It’s easy to fall into the idea that using a spotting scope for hunting and shooting is easy. After all, you simply need to look through the glass. But that is only a part of the process. Hunters take years to master the art of glassing through the scope. For you however, it need not take as long. By the time we are done, you should have a good understanding of how to use a spotting scope for hunting and shooting.
Let’s take a look at best spotting scopes for hunting where is few tips to help you use the scope more efficiently.
- Best Position
When out hunting, the number one thing that you need to do is to pick out the right position. This should allow you to see for a long distances all around you. The position should be accommodating in that you can easily sit back for long hours without putting too much strain on your body. You can imagine being in a steep slope. Not very ideal is it?
The location should also be able to provide you with a good place to set your spotting scope. As a hunter, you likely have a gun and a back pack. You should also be able to place these down next to you.
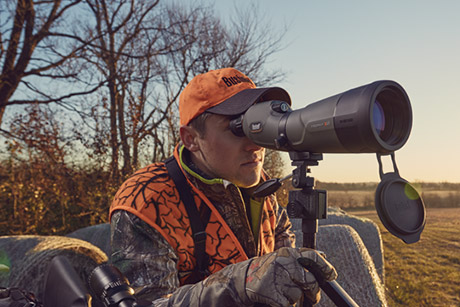
With the right vantage point, it’s time for the next step.
- Setting Up the Scope
It’s time to set up the spotting scope. Start by placing the tripod on the right position then place the scope on top. Adjusting the legs of the tripod is important to get the right and most comfortable viewing position. During use, you might find yourself needing to readjust the height of the scope. Being able to use the tripod is as important as using the spotting scope.
How comfortable you are when glassing through the scope can mean the difference between success and failure in the most literal way. If your viewing position is not ideal, a headache can cause you to abandon the hunt or miss an opportunity.
If after a short time you feel the slightest discomfort, readjust the height until there is no strain at all when looking through the scope.
- Time to Scan
It’s time to pull up those binoculars. Yes, I said binoculars. These are easy to use and will allow you to quickly view your surroundings. Once you spot a herd of deer, simply move the spotting scope towards them for a closer look.
When using the scope, ensure that you have zoomed out towards your prey. You will have a wider field of view and you can now adjust the lens by zooming in for a clearer image.
In case you wear glasses, your spotting scope should come with eye cups. These will offer the required eye relief.
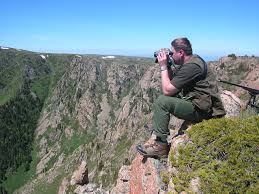
Look out for the position of the sun. It is easier to spot your target if the sun is not glaring down on you from the front. If however this is the case, you can always retract the sunshade.
When zooming in you need to remember not to go up to the highest power form the lowest as the image will not be clear. Doing this will likely cause you to change your position and start the whole process again.
Beginner spotting scope users have a tendency to place both hands on the scope when glassing. This results in an unstable image. You are also very likely to lose your target due to the shaking. The best way to use the spotting scope is to keep one hand away while the other on the focus knob. Once you reach the right image quality, remove this hand as well.
- Practice Patience
It is not all the time when you scan with your binoculars that you will find a target. Sometimes the binoculars are simply not powerful enough to view greater distances. You can use the spotter to do this as well.
One proven trick is to divide up the area you are viewing into smaller sections. With the spotter at low magnification, scan through each area at a time. In case there are spots where the ground is covered with thick foliage, raise your magnification.
Continue doing this until you have covered the entire terrain. You would be surprised at how successful this technique is. Sometimes the binoculars simply missed an animal hiding behind a bush taking a nap, but with the powerful magnification of the spotter, you can pick up tell tale signs of its presence by a simple viewing of the horns.
- Dealing with Heat Waves
On a hot day, nothing challenges the hunter more than the heat waves. These become more pronounced the more you zoom in on your target.
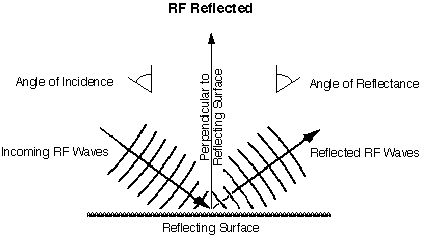
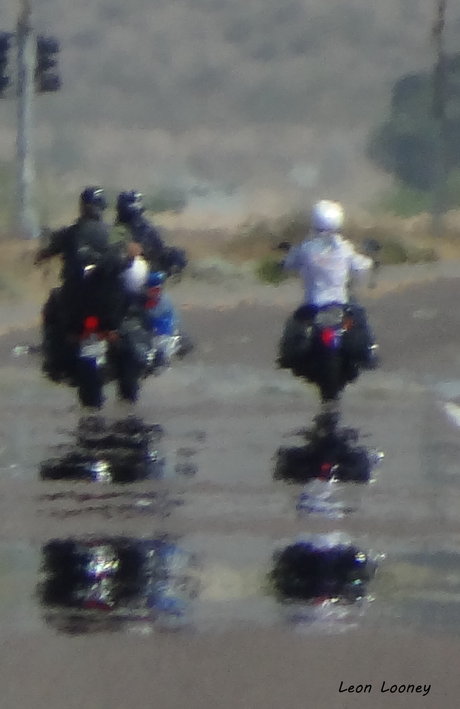
You can beat this by simply zooming out. In case you zoom out too far that the target is no longer visible, simply up the magnification until you reach the right balance between image clarity and distortion.
Look out for clouds. These will prove a useful ally when viewing through the spotting scope. They will instantly remove the heat waves allowing you a chance to quickly zoom back in on your target.
Conclusion
Using a spotting scope may seem challenging to beginners, but once you get the hang of it, it becomes second nature. The spotting scope allows you to view targets at distances that an ordinary pair of binoculars simply could not handle.
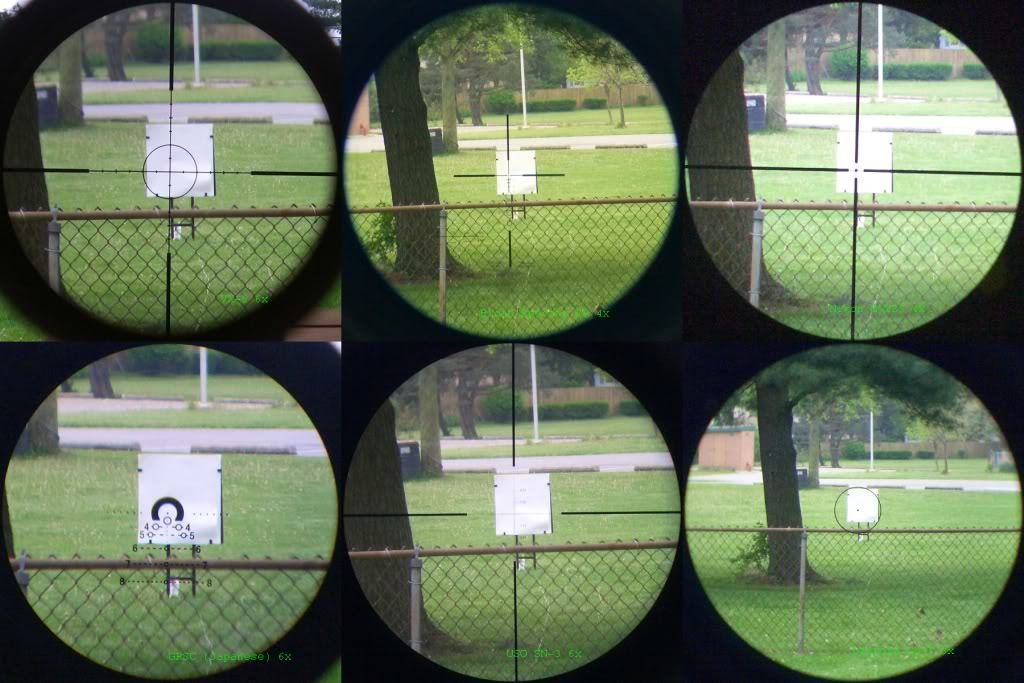
As a tip for practicing your proficiency in the art of hunting with a spotter, start off by using a small stationary object. This will provide you with the right skills for setting up as well as adjusting for height and dealing with heat waves.
When you finally go out after the real deal, everything will flow naturally allowing you to achieve success.
About the author
I have a deep respect for the nature and the environment. We therefore take the sport of hunting very seriously. I am writing from my experience and provide guides on how to hunt effectively, answer reader questions, and reviews of the latest hunting gear.
The post Learn How to Use a Spotting Scope appeared first on The Prepper Journal.
from The Prepper Journal
Don't forget to visit the store and pick up some gear at The COR Outfitters. How prepared are you for emergencies?
#SurvivalFirestarter #SurvivalBugOutBackpack #PrepperSurvivalPack #SHTFGear #SHTFBag

No comments:
Post a Comment