Written by R. Ann Parris on The Prepper Journal.
Editors Note: Another article from R. Ann Parris to The Prepper Journal. If you have information for Preppers that you would like to share then enter into the Prepper Writing Contest with a chance to win one of three Amazon Gift Cards with the top prize being a $300 card to purchase your own prepping supplies!
On a budget or waste-minded, now and especially in hard times – whether they’re personal or widespread – making the most out of our time and labors, and the foods we’ve grown or purchased, is important.
There are some additional tips for increasing ease and variety in the article about food preservation from a prepper-specific perspective (http://www.theprepperjournal.com/2018/08/01/preserving-the-harvest-canning-and-dehydrating/) and there are some inexpensive tools that can make food preservation faster and a fair bit easier on the hands (and on the back, and feet, and knife sharpener…). Here I’m hitting some quickie snippets that increase the frugality, efficiency, and ease of our home preservation, as well as some that increase the variety and options we have waiting in our cupboards.
I assume some basic familiarity with the most-common preservation methods, so make sure to check out the intro articles on TPJ and get the Ball/Bernadin canning book. The Excalibur dehydrating guides and recipe booklet is available for free online for download, too. It’s largely applicable to any electric dehydrator.
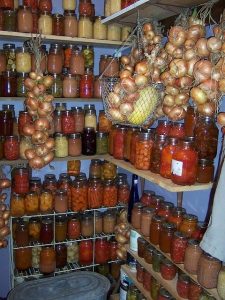
Into the Eats…
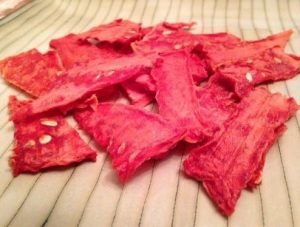
Churn out tongue-pleasing treats by dehydrating things like watermelon and cantaloupe. We can just slice them, or we can give them a whirl in a blender to turn into leathers or roll-ups.
The natural sweetness isn’t just a treat for a mood boost. It’s also a way to get an energy boost from nice, natural sugars and keep on trucking awhile.
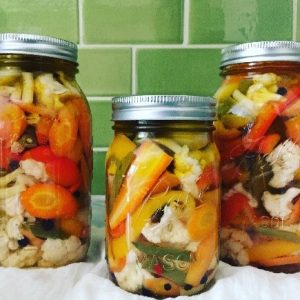
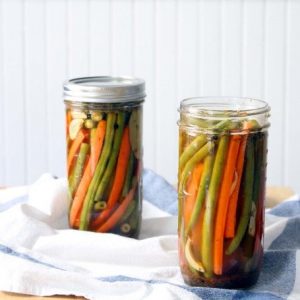
Oddball bits of produce? Can up some antipasto or spicy pickle mixes. Anything works – peppers, cauliflower, broccoli, cucumbers, zucchini, celery sticks or kohlrabi spears, summer squashes, beets, carrots, green beans or wax beans, leftover olives, pea pods, even the odd egg or some leftover smokies, meatballs, or larger sausages.
It’s especially useful for larger flat types of green beans or lima beans that normally don’t make great green beans, but that will otherwise be wrecked by changing weather or the small percent left when most of the harvest has finished and we want to turn that bed/row/field.
Those small bits can also be easily canned as veggie medleys or soup starter.
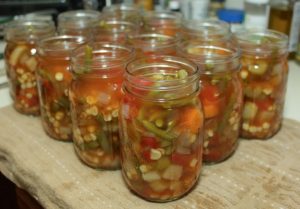
Dehydrating is also an excellent way to preserve foods when we only have little bits and pieces of any one thing, but more than we’ll eat before it goes bad (especially without refrigeration).
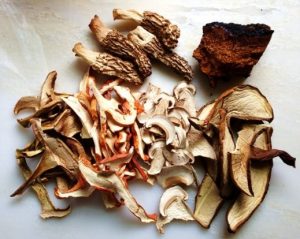
Canning soup blends? Like mushrooms? Throw a couple of slices into each jar. That’s all you need to have the flavor permeate.
We can also dehydrate and then mince or grind mushrooms (from cans, too), for a little bit that goes a long way in sauces and broths.
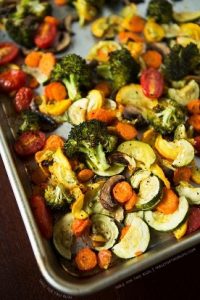
Roast veggies before pressure canning. It provides deeper flavor as well as sometimes affecting the textures that result, especially for things that are prone to going mushy.
We can dehydrate our own quick-cook beans. Boil up some extras – plain. Rinse them, spread them out to dry, and store them with a moisture or oxygen absorber. When we’re ready to make them, we can either simmer for 20-45 minutes, or soak them for the day or overnight and they’ll be ready to heat and eat.
*Cook the beans plain, and either simmer or rehydrate with seasonings.
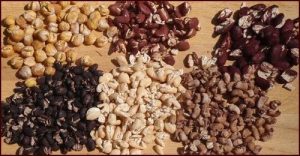
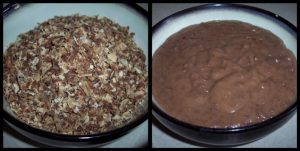
We can do bean purees (refried, humus), too, spread out like we’re making leathers or roll-ups (spaghetti sauce and applesauce, too). We can pummel them into bits or carry strips and chips with us, then quickly rehydrate them into a meal or side, campfire or kitchen.
The dryer/harder we get those, the longer they’ll last, like any dehydrated foods.
With seasoned beans and anything that includes fats and oils, the shelf life will decrease pretty significantly compared to plain – it’s that head-scratching wheat berry, flour, pasta conundrum again.
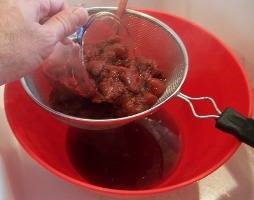
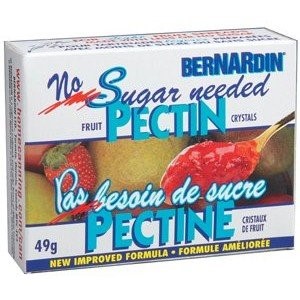
Line a bowl or pitcher with a storage bag to save the liquids from canned and drained frozen fruits to make jelly or syrup. Not sure of the sugar content? Use tapioca or corn starch for “now”/fridge versions or try a no-sugar pectin.
Those no-sugar pectins will store for years past best-by dates in the fridge, and may come in handy some time when we’re canning and realize there’s not enough sugar. (Jams and jellies require as much sugar as fruit, just about.)


While we’re making jelly, don’t rely on recipes’ times. We can always re-boil or use syrup, but for rock-solid, consistent results, use a chilled-spoon/plate or sheeting test.
Corn cobs that have had the kernels removed can be boiled down and turned it into homemade “Karo” or “Golden Eagle” corn syrups to use as a sweetener. (The cold-plate test is an excellent way to judge how far your syrups have gone, too.)
Scraps
Almost anything we can or dehydrate creates scraps. Most of those scraps can have a second and third life. Veggie peels and bones can be made into stock. Most fruit peels and cores can be soaked and turned into jellies.
Can, freeze, or dehydrate the mash strained from making jelly. It can be used for leathers/roll-ups, teas, animal supplements and treats, or flavoring breads, muffins, yogurt, oatmeal, sorbet/ice cream, etc.
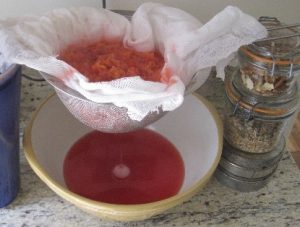


We do want to be aware of dangerous/toxic seeds and remove those as needed. However, save the “safe” seeds removed from oversized cucumbers, squashes, and pumpkins – they can go to any birds, and most can go to hogs or goats.
Once we’ve gotten the very last use out of our foods, there’s the compost option, but most of the peels, cores, pods/shells, and tips are perfectly safe to add to animals’ feed or save for treats and winter-spring health boosts.
Prep Extra Jars & Lids
Jams, jellies, and pie filling are a bit notorious for filling up a little less or a little more than a recipe calls for. That’s due to fruit’s initial water content, and how long we process it, but it can happen with anything – hot pack or cold, pressure canning meats or water bathing tomatoes.
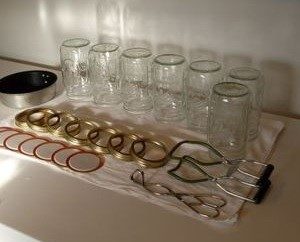
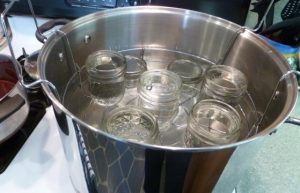
Having an extra jar on hand makes overage no big deal. There’s no stopping to wash more.
Having a pint, half-pint, or 4-oz jelly jar on hand already clean makes it even easier to adjust on the fly when we have a little more or a little less of something.
Having the spares on hand and ready to go also means we don’t have to stop in the middle, wasting time (and, from prepper perspectives, fuels) while we chase down a lid and rewash it.
Size Matters
Sometimes life is easier with fewer choices, and it’s definitely easier to organize and arrange things if we have nice, modular pieces. Even so, while prepping for home preservation, get a variety of jar sizes.
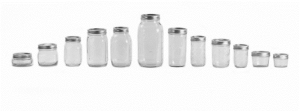
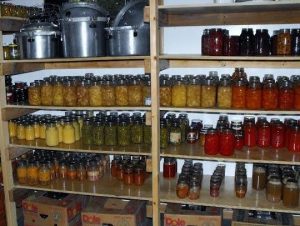
In a grid-down or emergency situation, we may not be able to keep leftovers very easily, and there are things we just don’t go through very fast. Small and tiny jars of herbs and condiments help with that, even now.
Some smaller jars also help us with gifts and potlucks now, and will increase options later. It lets us compile a variety of goodies instead of just one thing. That can help us with both bartering and even “brown bag” lunches later.
Which goes right along with…
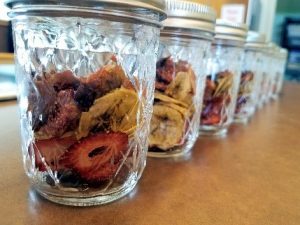
Open What You’ll Use
Especially for canning, preserve foods in reasonable one-use sizes. With a big family, we might very well want chicken cubes in a full quart. For only a couple of people, pints or half-pints are more reasonable and for some of us, little jelly jars might actually be the best-fit to avoid waste.
Tiny jars are especially helpful for sausage stuffing, lil’ smokies/shortie hotdogs, rillettes or pate, etc. that might be just a snacky-meal or special treat, or that we might be pocketing to take hunting, exploring, scouting, etc.
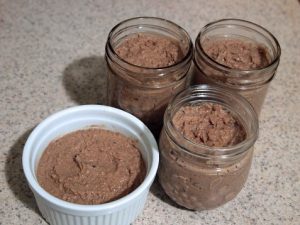
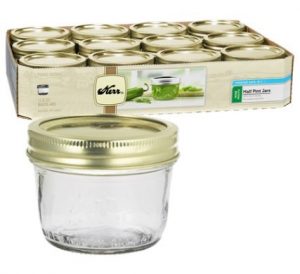
Smaller and oddball-shaped jars are also applicable to things like ham hocks or turkey necks that will be seasoning foods more than serving as a primary protein source.
Having small jars on hand will also let us PC some of our precious meat leftovers when it’s too hot for snow-bucket coolers but power is too precious for running fridges.
(It’s not as big of a deal for dehydrating or dry goods, although we might work in sizes we can move through or easily repackage there, too.)
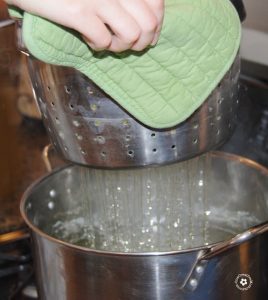
Stock & Pasta Pots
We can use any ol’ pot for WBC; we don’t have to buy a specific canner (although, the lift racks are admittedly nice). That means we can tailor which pot we use to fit the most jars per load, avoid stacking, or having to reach uncomfortably high.
That last will keep more people productive and useful in a crisis as wear-and-tear on the body and lack of easy meds takes its toll. It also avoids shorter people dealing with the hassle of a tall canner on a standard stove, whatever their age or physical status.


*Also, you might want to keep both short and tall people in mind when setting up outdoor and emergency-times kitchens (or any kitchen). Tall people can flip an apple crate upside down to increase counter height and short people can stand on it for extra reach, but it’s nice to limit bending and climbing and decrease slip-fall risks when possible.
Just throw forks, butter knives, canning rings, or a towel in the bottom of the pot to buffer jars, or use a pasta strainer insert. Otherwise, the jars develop weak spots at the joint of the bottom piece. It usually won’t affect this batch, but the next time those jars hit a canner, we’re likely to start seeing a higher percentage of breakage due to the weaknesses.
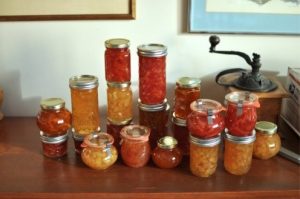
Preservation Quickie Tips
There are a lot of ways we can decrease food waste – besides just tossing something for compost.
Keeping our animals in mind and holding some of the summertime gluts back for them to enjoy during winter will keep them happier and help keep their guts primed and ready for varied foods during the season of grains, bagged feed, and typically one-type grass hays.


The critter clean-up crew really deserves its own article, as do super-star mechanical helpers like a very simple mandolin or hand-crank food processor.
Meantime, there are a million ways we can make canning, especially, a little easier and faster, and increase our efficiency in preserving foods, not only making use of every last bit, but also economizing our time.
Pretty much everybody who’s been at it a while has a trick they’ve developed or picked up that’s not in most canning or dehydrating guides. It’d be great to hear a few more.
Follow The Prepper Journal on Facebook!
The post Preservation Quickfire Tips – Increasing variety, ease and yields appeared first on The Prepper Journal.
from The Prepper Journal
Don't forget to visit the store and pick up some gear at The COR Outfitters. How prepared are you for emergencies?
#SurvivalFirestarter #SurvivalBugOutBackpack #PrepperSurvivalPack #SHTFGear #SHTFBag

No comments:
Post a Comment